Step 1 – Software Needed
- Get a Windows 7 SP1 installation media. For this article I’ll be using a Windows 7 SP1 Enterprise 32 bit version of Windows.
- The Windows® Automated Installation Kit (AIK) for Windows® 7 http://www.microsoft.com/download/en/confirmation.aspx?id=5753 This file downloads as: KB3AIK_EN.iso
- The Windows Automated Installation Kit (AIK) Supplement for Windows 7 SP1 is an optional update to AIK for Windows 7 that helps you to install, customize, and deploy the Microsoft Windows 7 SP1 and Windows Server 2008 R2 SP1 family of operating systems. http://www.microsoft.com/download/en/details.aspx?id=5188 The release I’ve downloaded was released on 2/21/2011 and downloads as waik_supplement_en-us.iso
- 7zip – used to extract files from the iso images.
Step 2
Install Windows 7 using default settings. We will customize this install. I’m using a virtual machine running in VMware Fusion so I can snapshot the progress.
- User: default
- Machine Name: BaseImage
- No Updates
- No password
- Enable Administrator Account
- Work Network
- Copy All 3 isos to the desktop
- Install 7zip
- Install VMware Tools
- Reboot
- Login with your newly created account (not Builtin Administrator)

Step 3 – Installing the wAIK
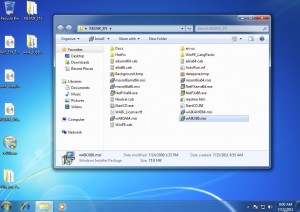
Extract the contents of the isos to the desktop using: Right click -> 7zip –> Extract to “foldername”. You should now have three folders on your desktop with the contents of the three isos.
From the KB3AIK_EN folder run the wAIKX86.msi (wAIKAMD64.msi if you’re installing a 64bit windows)
- Accept the License Agreement [next]
- Accept Default folder of C:Program FilesWindows AIK
- Install for Everyone [next]
- Click Next to start installation [next]
- Finish install [Close]
Step 4 – Load image into System Image Manager
This will walk through loading a windows image (in this case the image is the install DVD) into the System Image Manager.
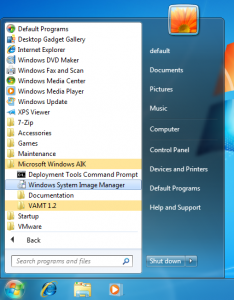
- Launch the windows system image manager
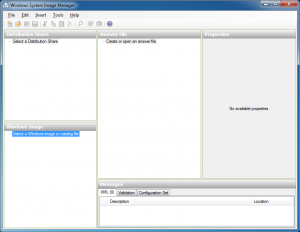
- The program will launch and show you a screen with a bunch of blank panes.
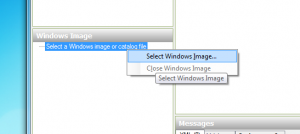
In the bottom left pane titled Windows Image, right click and select “New Image”.
Brows to the location where you extracted windows 7 iso (Desktop), and brows to the sources folder and choose the cataloge file (.clg extension) “install_Windows 7 Enterprise.clg”.
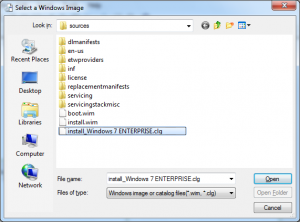
Now we have the Windows image Loaded into the image manager. The next step will walk through creating an answer file.
Step 5 – Creating the answer file
— TODO — Create the File
Step 6 – Running Sysprep
In another VM instance start a vanilla 7 installation. When you arrive at the welcome screen where it asks you to create a username, hit CTRL+SHIFT+F3, this will reboot your machine and put you in “audit” mode.
- Boot from Windows 7 Disk
- Partition the Drive how you want it
- Install VMware tools
- reboot
- Copy you unattend.xml to c:Windowssystem32sysprep
